
Hello Friends,
Today I have a really fun Polkadoodles Challenge for all of you. We are playing TIC TAC TOE.... Here is the TIC TAC TOE board so hope you will all play along.
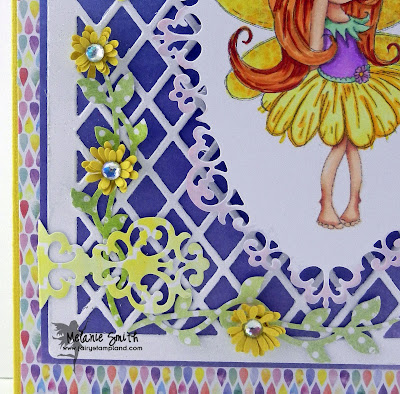
For my "Nature" portion I created this beautiful vine using two new dies I purchased from the Heirloom Rubberstamp Show. The vine is a part of the Spellbinders Floral Gazebo set (S4-535) and the amazing miniature flowers were made using the Impression Obsession (DIE042-I). The background lattice is also a new die from Ellentina Cutting Dies that I also got from the show.
I hope you all will come on over to the Polkadoodles Challenge blog to play along with us. I would love to see all your creations!!!
Today I have a really fun Polkadoodles Challenge for all of you. We are playing TIC TAC TOE.... Here is the TIC TAC TOE board so hope you will all play along.

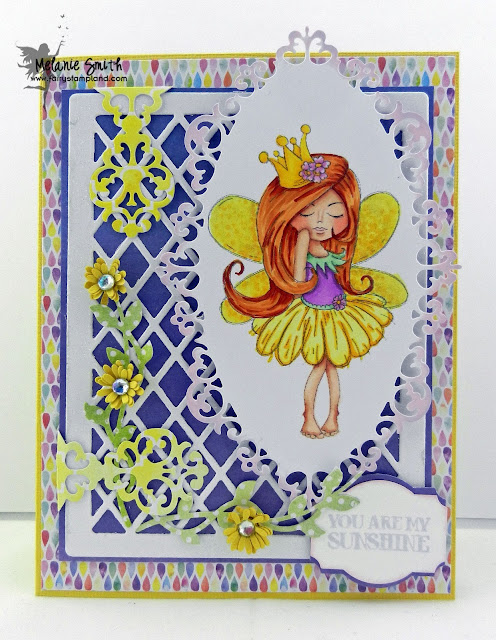
For my card I have used Serenity Princess from the Serenity collection. She has WINGS so for my TIC TAC TOE I have chosen "Wings, Nature, and a Sentiment"

I have used a lot of dies in this image. The beautiful Gilded Oval Die set is one of the newest additions to my ever growing collection. It was designed by my dear friend Tammy from Handmade by TLC. She designs amazing dies for LDRS Creative. you can see her entire collection HERE.

For my "Nature" portion I created this beautiful vine using two new dies I purchased from the Heirloom Rubberstamp Show. The vine is a part of the Spellbinders Floral Gazebo set (S4-535) and the amazing miniature flowers were made using the Impression Obsession (DIE042-I). The background lattice is also a new die from Ellentina Cutting Dies that I also got from the show.
I hope you all will come on over to the Polkadoodles Challenge blog to play along with us. I would love to see all your creations!!!
Melanie


